
How to Display Related Posts in WordPress (Step by Step)
How to Display Related Posts in WordPress (Step by Step)
Do you want to show related articles on your WordPress website?
By adding related posts in WordPress, you can help your visitors find new content, keep them engaged, decrease your bounce rate, and increase the pageviews.
In this article, we will show you how you can display related posts in WordPress.
Why Show Related Posts in WordPress?
When you start a new WordPress website, your readers will have no problem finding all your content easily. However, as your site grows, so will the number of articles. This makes it difficult for visitors to find your most important posts.
A simple way to help people find new content on your site is by displaying related posts. You can show off your best content, keeping your readers engaged on your site and lowering your bounce rate.
In this article, we’ll share 2 methods of displaying related posts, so you can choose whichever way you prefer.
- Show Popular Posts in WordPress Using MonsterInsights (Recommended)
- Show Related Posts using YARPP Plugin
- Add WordPress Related Posts Manually
Show Popular Posts in WordPress Using MonsterInsights
We believe that showing the most popular posts instead of related posts lead to higher clicks and user engagement. This is why a lot of popular publishers now show popular posts or trending posts instead of related posts.
The easiest way to show popular posts in WordPress is by using MonsterInsights, the best WordPress Analytics plugin. MonsterInsights makes it very easy to use Google Analytics and get helpful reports in your WordPress dashboard.
MonsterInsights helps you set up Google Analytics in WordPress without editing code or hiring a developer. It offers advanced tracking features including ads tracking, eCommerce tracking, link click tracking, and more.
With MonsterInsights, you can show your best blog posts anywhere on your website using the Popular Posts feature. You can get started with the MonsterInsights Lite version.
However, if you want to unlock the popular posts addon, advanced tracking features, dashboard reports, and more options to customize your related posts, then you can use the MonsterInsights Pro version.
First, you’ll need to install and activate the MonsterInsights plugin. For more details, see our tutorial on how to install a WordPress plugin.
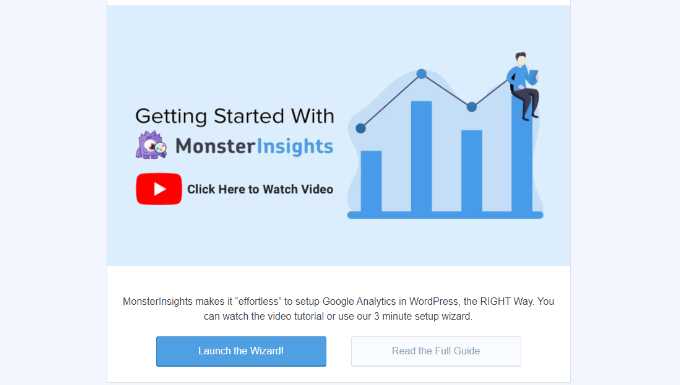
Upon activation, you’ll be directed to Insights from your WordPress admin panel. Simply click on the ‘Launch the Wizard’ button to configure the plugin on your website.
After that, you can head over to Insights » Popular Posts from your WordPress dashboard. MonsterInsights gives you multiple options to display related posts on your website.
You can select the ‘Inline Popular Posts’ option to show articles within your content or use the ‘Popular Posts Widget’ to display related posts at the end of a blog post or in the sidebar. There’s also an option to show popular products for your online store.
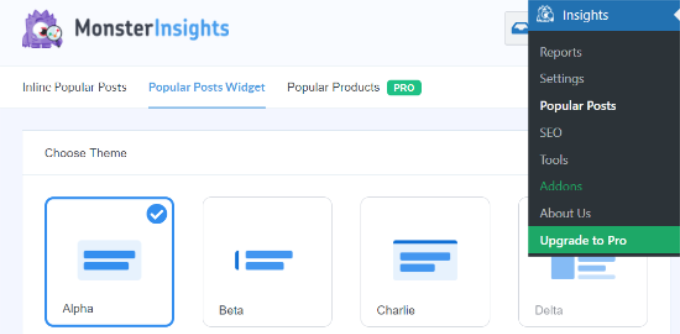
For this tutorial, we’ll use the Popular Posts Widget option and display related posts at the end of an article.
MonsterInsights offers pre-built templates to choose from for showing related posts. If you upgrade to the Pro version, then you can unlock more themes and design options for displaying your popular posts.
It also shows a preview of how your related posts will look like on the website in the ‘Theme Preview’ section.
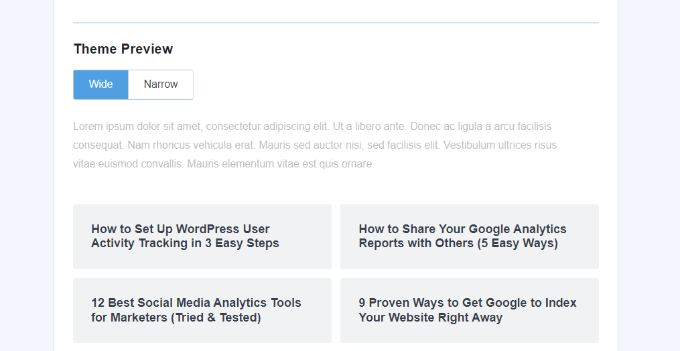
After selecting a theme, go ahead and scroll down to customize the design. You can change the color and size of the title and background, change the layout, and choose how many posts to show in the widget.

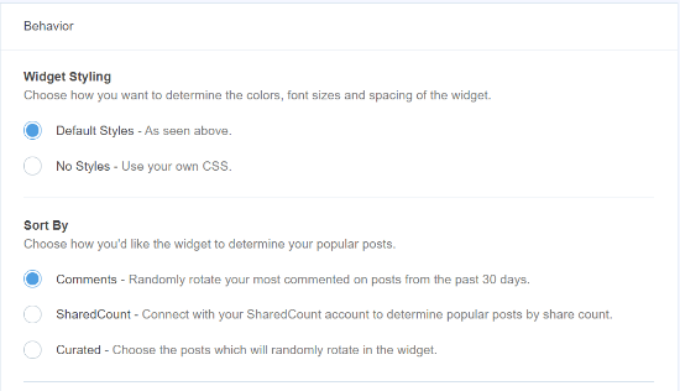
Next, you can scroll down to the ‘Behavior’ section and change the Widget Styling. You can use the default styling or add custom CSS to edit the appearance of your popular posts widget.
Once you’ve finished styling the widget, you can choose how to determine which related posts to display. MonsterInsights will sort popular posts based on comments, share count, or show a custom list of posts.
The Comments options will randomly rotate the most commented posts from the past 30 days. Alternatively, you can connect your SharedCount account and show posts with the most shares.
Another option is to choose which specific posts to show in the widget using the Curated option. Simply add the posts and pages to the list, and the plugin will randomly rotate them in the widget.
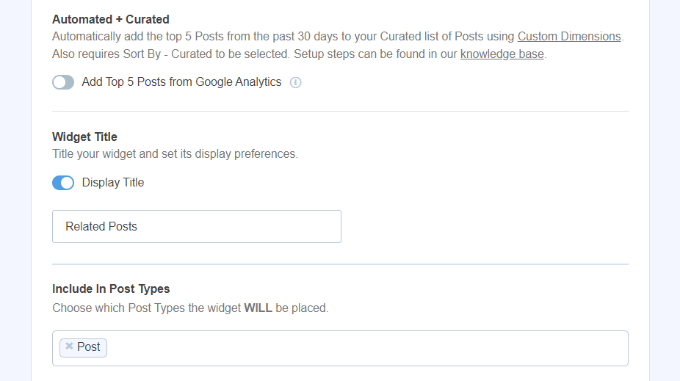
If you’re using the MonsterInsights Pro version, then you also get an option to automatically display the top 5 posts from the last 30 days based on your website traffic.
Next, you have an option to show the widget title by enabling the ‘Display Title’ toggle. Simply click the toggle to enable the option and enter a title that will appear above your related posts.
After that, you can select ‘Posts’ as the post type to include in the widget. There is also an option to exclude specific posts from showing in the related posts widget and show posts from particular categories.
Now, you can choose how to embed your popular posts widget in WordPress. MonsterInsights offers different options, and you can select manual or automatic placement.
If you select ‘Automatic Placement,’ then the plugin will display your related posts after the last paragraph of your blog posts.
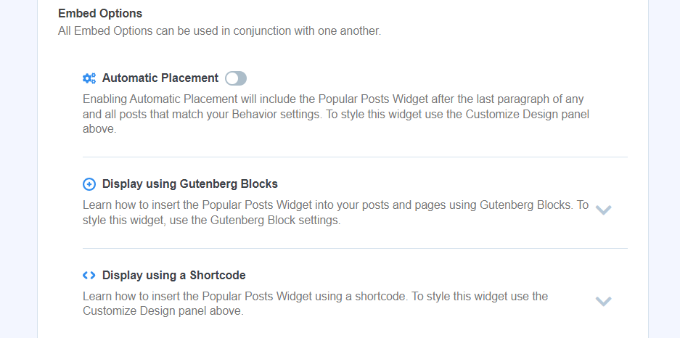
Another option is to display the related posts widget manually on any post or page using a shortcode or a Popular Posts block.
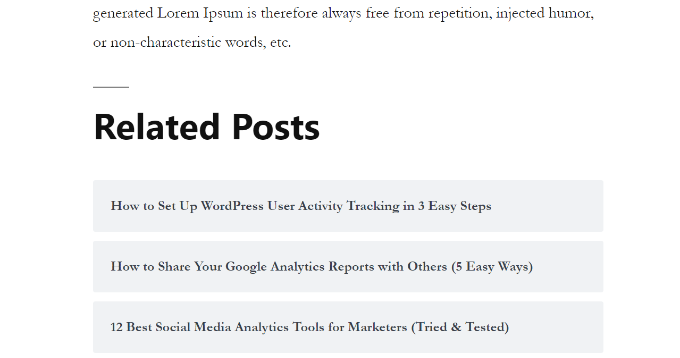
To do that, simply edit any existing post or add a new one. Once you’re in the WordPress editor, go ahead and click the ‘+’ icon and add a ‘Popular Posts’ block where you want it to appear in your content

The plugin will automatically add your most popular articles and display them as related posts. You can now visit your website to see them in action.
Visit Full article: https://tinyurl.com/mr5sszu9